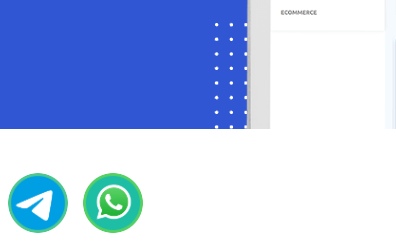
WhatsApp Chat Widget
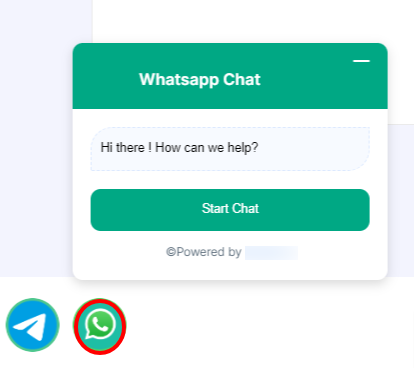
A chat widget is a valuable tool that enables website visitors to engage in real-time communication with your company. Typically, it appears as a button located at the bottom of a web page, offering a warm greeting and providing immediate support to users. To seamlessly integrate a chat widget into your website, follow the below steps.
To Create a Chat Widget:
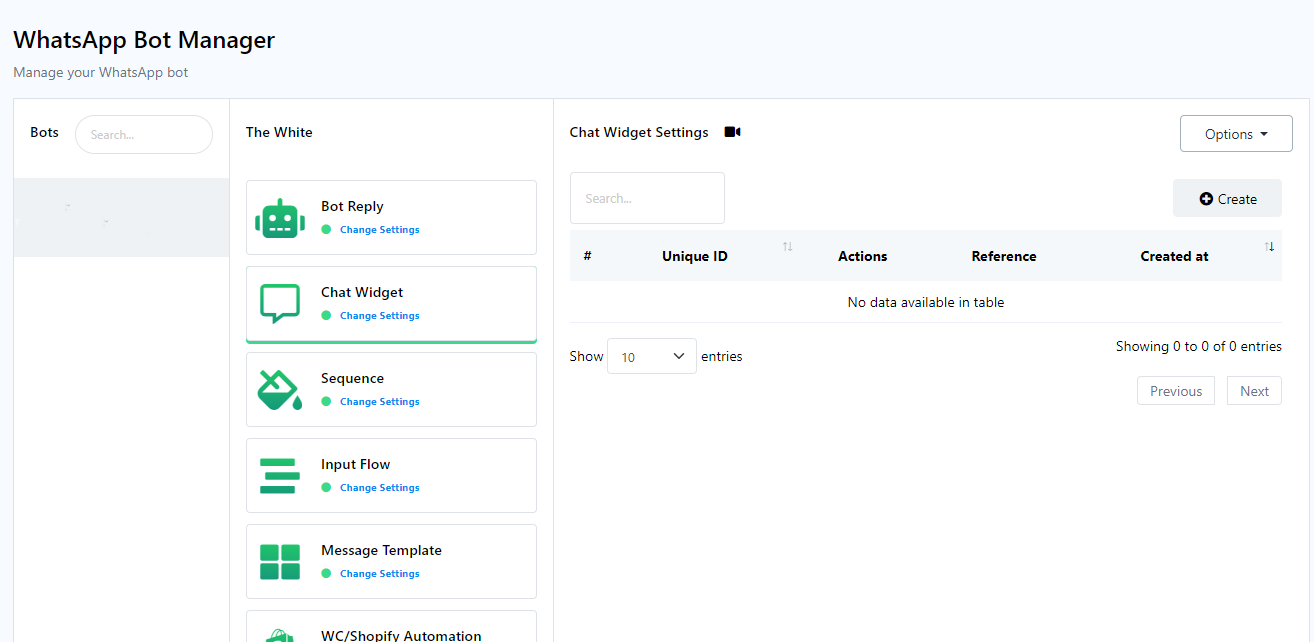
- Navigate to the WhatsApp Bot Manager Page.
- Within the WhatsApp Bot Manager, select the `Chat Widget` section and click on the `Create` button. Make sure the WhatsApp bot account is selected for which the chat widget will be created
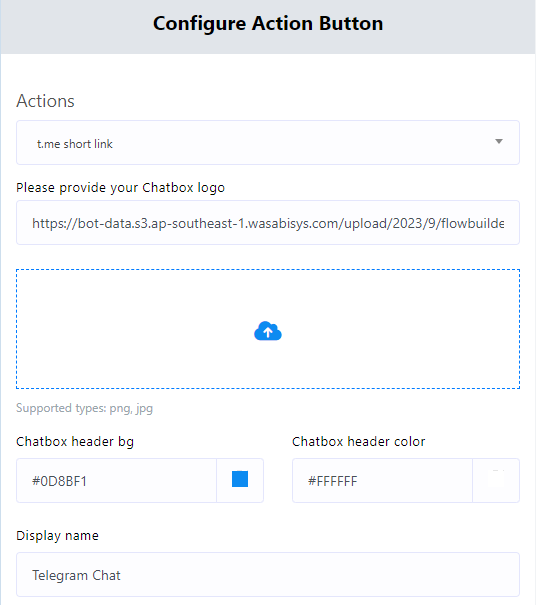
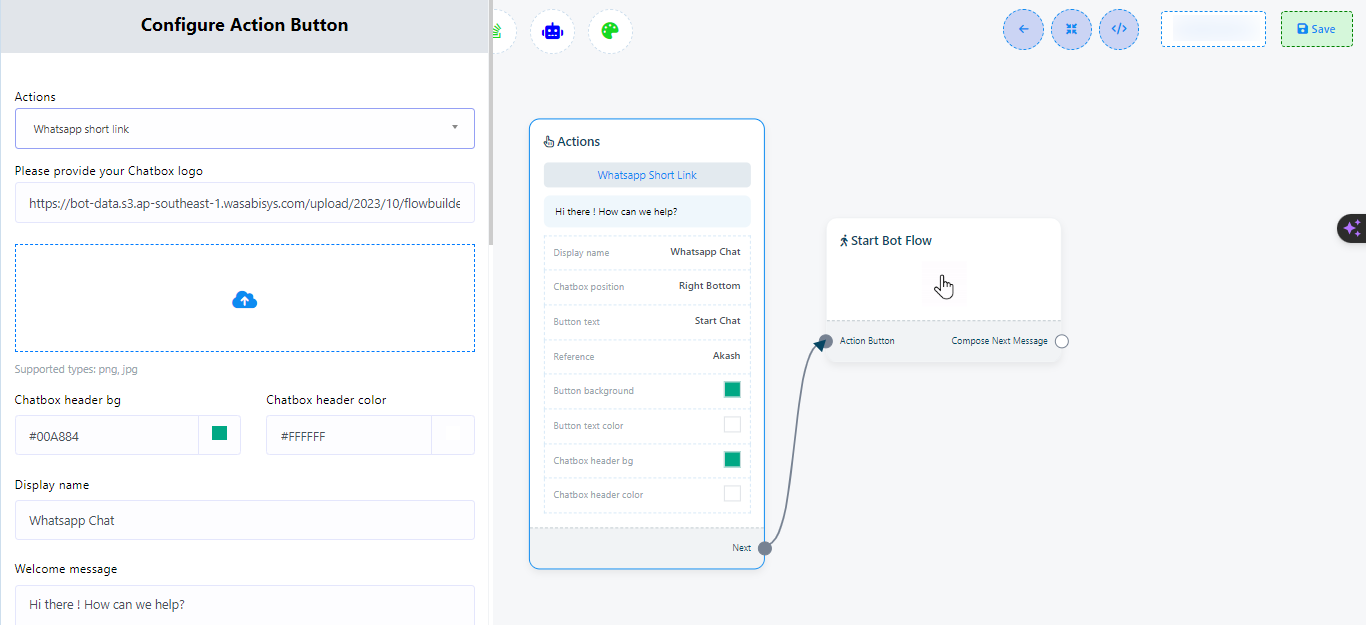
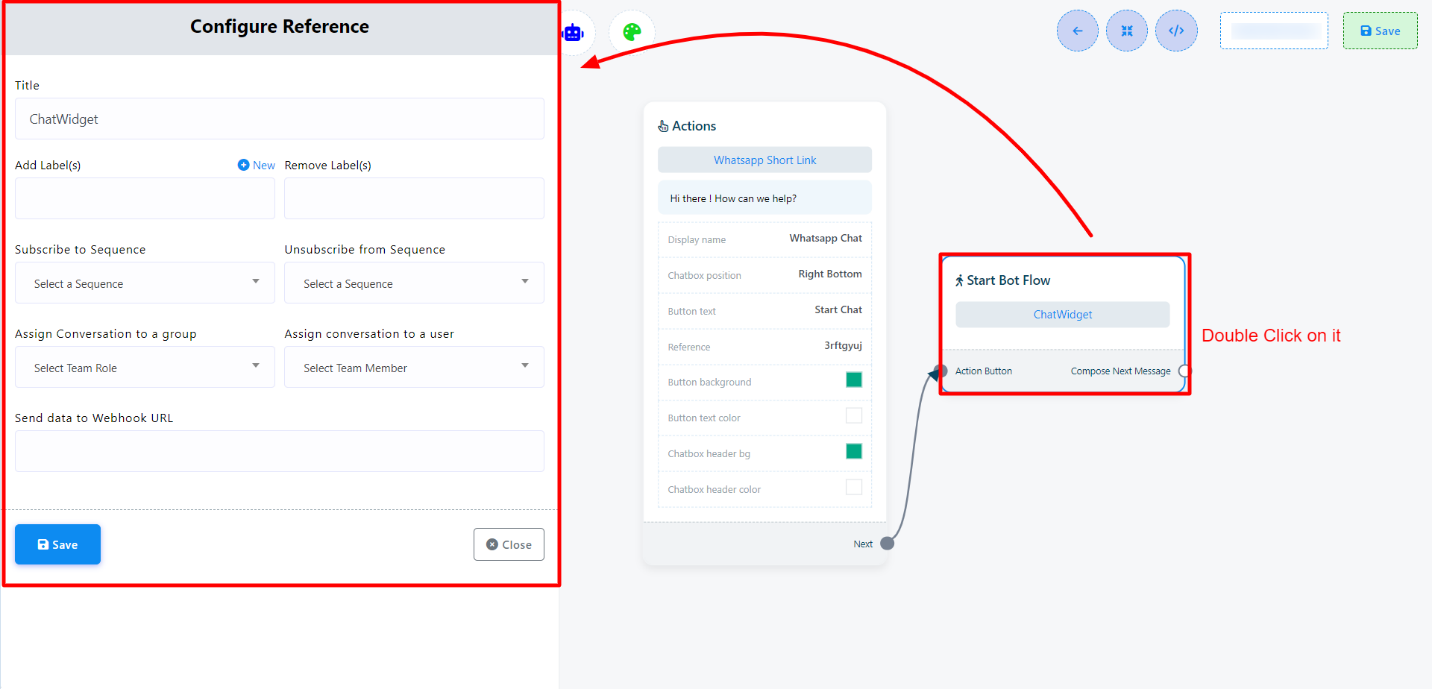
- Configure the action button by completing the following fields and clicking `Save`:
- On the actions, WhatsApp short link is selected by default
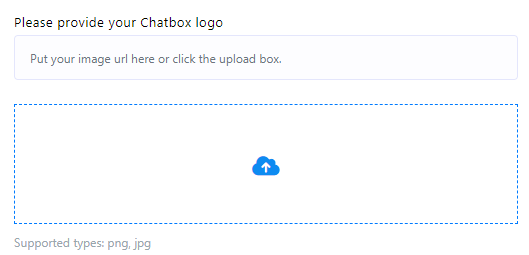
- Upload a .png or .jpg file for a logo, or provide a URL for the logo.
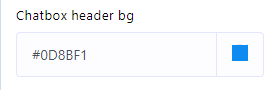
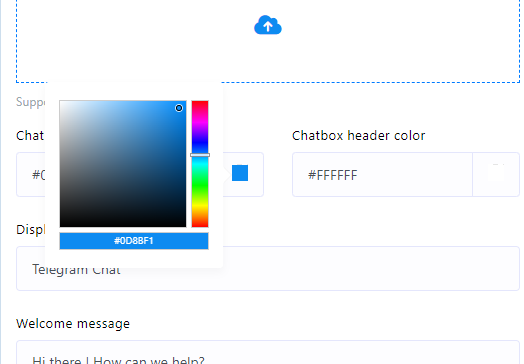
- Select a color from the color palette or input a hexadecimal color code for the chat widget`s header background.
- Set a display name for your chat widget.
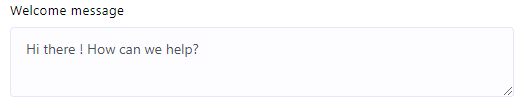
- Craft a welcoming message for your users
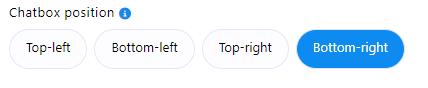
- Choose the desired position for the Chat Widget on your webpage.
- Define the button text.
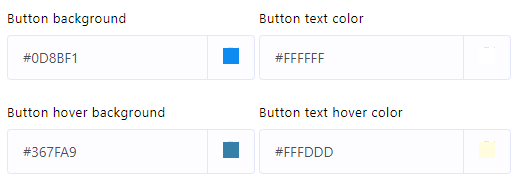
- Specify colors for the chat widget`s button background, button text color, button hover background, and button text hover color.
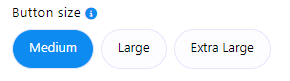
- Set the button size.
- Provide a reference to easily track the plugin later.
- Click on the `Save` button to preserve the chat widget configurations.
- Double click on the `Start Bot Flow` and provide a name for it. Also, there are options for adding label, sequence and assigning conversation to an agent or team member.
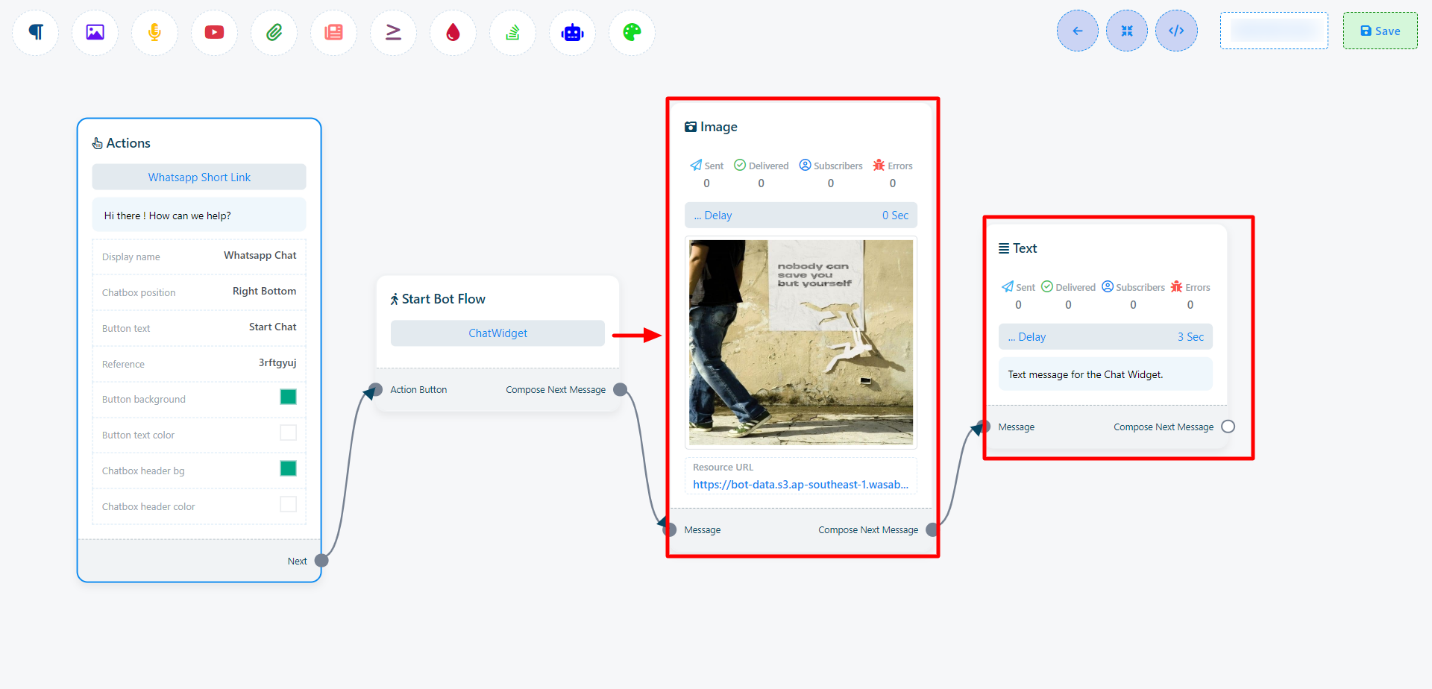
- Now let’s add desired reply from the `Start Bot Flow` and save the flow.
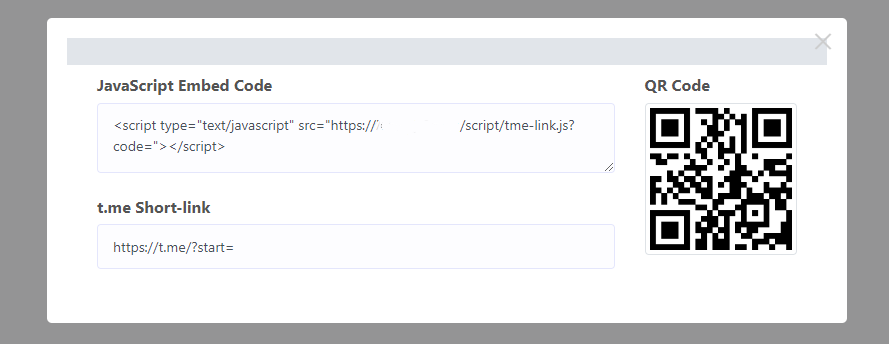
- Retrieve the embedded code and insert it into your website`s source code.


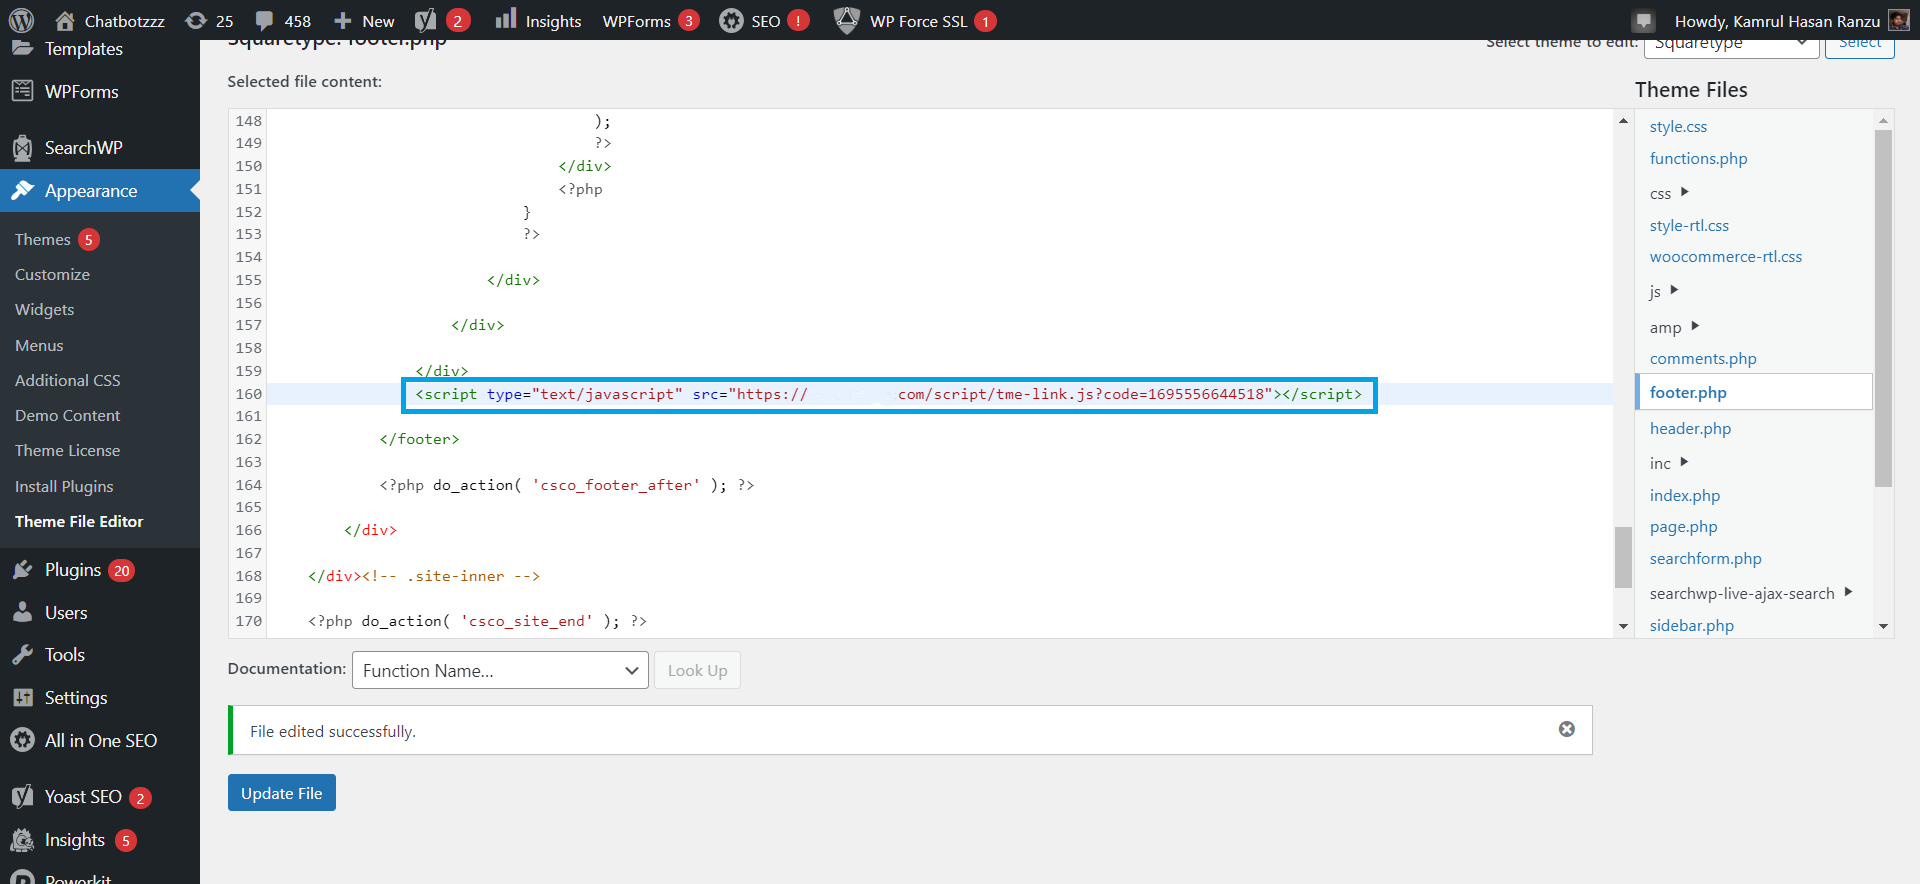
Both WordPress and custom websites may have the embedded code installed. Here’s how:
For WordPress website:
- Copy the JavaScript Embed Code.
- Access your WordPress Dashboard.
- Go to `Appearance` > `Theme File Editor.`
- Paste the copied code into the footer section.
For Custom website:
- Copy the JavaScript Embed Code.
- Paste it into the header or footer section of your `index.php` or `index.html` file.
The Chat Widget will now be displayed on the website, providing an efficient means of communication and support for visitors/subscribers of the website.